


Notary Public Certification: documents, steps and pitfalls
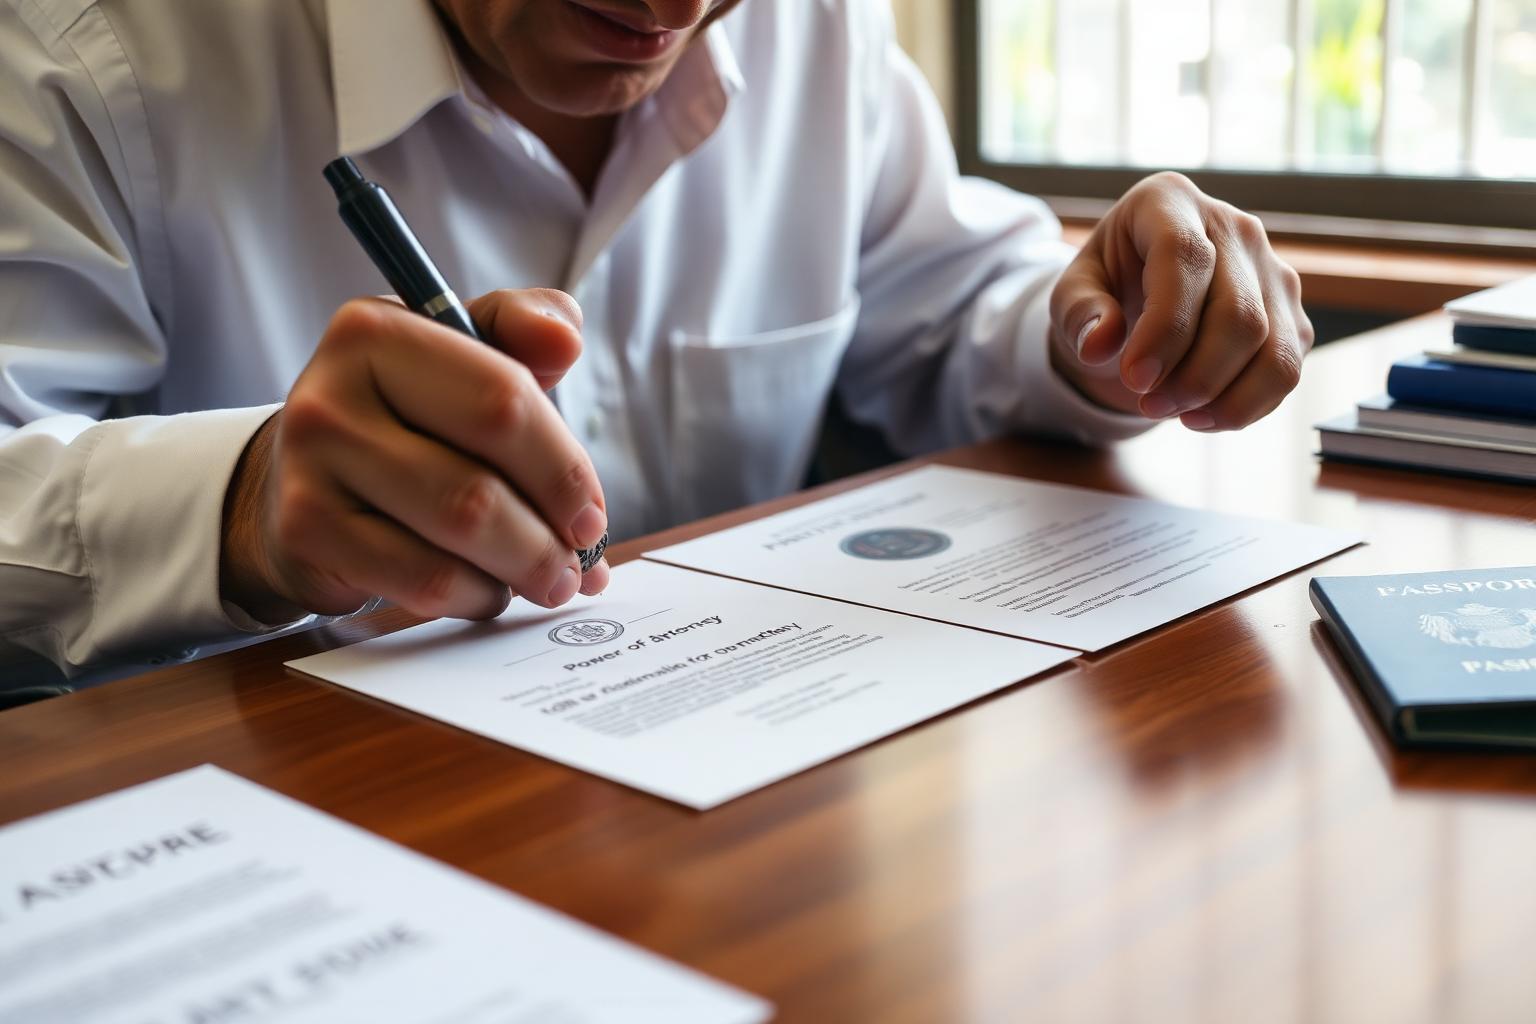
Notarial work in Thailand is performed by a Notarial Services Attorney registered with the Lawyers Council of Thailand — not a US-style notary. Each receiving authority defines the wording it will accept.
อ่านภาษาไทย: คู่มือรับรองเอกสารโดยโนตารี พับลิค
Documents to prepare
- Original passport or Thai ID card of every signatory
- The unsigned original document to be notarised
- Any certificate wording prescribed by the receiving party
- Company affidavit and seal when signing for a legal entity
- Power of attorney if the signatory cannot attend in person
- Written instruction from the receiving party on the required certification type
Step-by-step process
- 1
Confirm with the receiving party which notarial certificate is required (true copy, signature, or affidavit)
- 2
Send a scan for pre-check so names, spelling and dates match the passport exactly
- 3
Book an appointment to sign in the presence of the notarial attorney
- 4
Sign in person and present original identification
- 5
Receive the document with the certificate, seal and register entry number
- 6
If it will be used abroad, continue to MFA legalisation and embassy attestation as required
Cautions and common mistakes
- Signing before the appointment — the document must then be reprinted
- Even a one-letter mismatch with the passport spelling
- Presenting a copy where the receiving party requires the original
- Assuming Thai notarisation equals an apostille — they are separate steps
- Not allowing time for the follow-on MFA or embassy steps
Timeline by stage — who acts and what sets the pace
| Stage | Who acts | What sets the pace |
|---|---|---|
| 1. Case assessment and document check | Our team + client | Starts as soon as complete copies arrive; duration depends on how complete the Notary Public Certification file is. |
| 2. Prepare translations and supporting papers | Translator + second reviewer | Depends on page count and terminology complexity; rush scheduling is possible. |
| 3. Filing with the authority | Our team ↔ the relevant authority | Governed by the relevant authority's queue and discretion at the time, so we do not promise a fixed completion date. |
| 4. Follow-up and handling objections | Our team | If more documents or corrections are requested we refile continuously rather than restarting the process. |
| 5. Final check and delivery | Our team + client | Verified before forwarding, with a complete archived set kept for future filings. |
Compare: do it yourself vs let us handle it
| Aspect | Do it yourself | Handled by us |
|---|---|---|
| Pre-submission document check | Self-checked, based on website notes or hearsay | Reviewed page by page by experienced staff, rejection risks flagged before filing |
| Understanding the destination requirement | You ask the receiving party and interpret the answer yourself | We map the destination's requirement against the relevant authority's current practice before work starts |
| Time and travel | You book queues, file in person and wait at every stage | Our team files on your behalf in the planned sequence and reports progress |
| If the file is challenged | You diagnose the cause and refile yourself | We handle the correction and refiling without starting from scratch |
| Advisory role | No adviser when an unusual case appears | Advice throughout the Notary Public Certification case, backed by 15+ years of experience — not just filing |
Frequently asked questions: Notary Public Certification
What are the end-to-end steps for Notary Public?
We review the facts and source documents, assemble and verify the file, submit to the Lawyers Council of Thailand notarial system, follow up on official queries, and hand over the result with a full copy set. For Notary Public a case manager tracks every stage and reports status. Call +66 83-249-4999 · LINE @NYC168 · Contact@nyclegal.co.th
Which documents are required for Notary Public?
The baseline set is your ID or passport, the original documents relating to Notary Public, proof of connection (house registration, company affidavit or the underlying contract) and a power of attorney if a representative attends. The exact list follows the Lawyers Council of Thailand notarial system requirements on the filing date; we send a case-specific checklist first.
How long does Notary Public take?
Turnaround depends on the Lawyers Council of Thailand notarial system queue, how complete the file is, and public holidays. We give a case-specific estimate after reviewing the actual documents and update it if anything changes — do not plan travel around generic figures found online for Notary Public.
What costs are involved in Notary Public?
Costs split into official fees at the published government rate and our professional fee. Fees are quoted case by case based on complexity and document volume — ask our team before work starts. For Notary Public we confirm the cost breakdown in writing before work starts, so nothing is added mid-way.
Who is eligible to apply for Notary Public?
Eligibility is set by the Lawyers Council of Thailand notarial system rules and generally turns on your personal status, your connection to the document or matter, and valid identification. Applicants abroad can usually act through a power of attorney. We confirm eligibility for Notary Public before any filing.
Can Notary Public be handled while I am overseas?
In many cases yes, through a power of attorney certified in the form required where you live; some documents must additionally pass a Thai embassy before use in Thailand. Only steps that legally require personal appearance cannot be delegated. We sequence Notary Public to minimise travel.
Consult before you start — advisers, not just processors
We do not simply process paperwork — we advise throughout the case. With more than 15 years of experience we review your documents before anything is filed, flag where rejection risk sits, and sequence the full chain end to end. If you would rather not run the process yourself, send the documents for a no-obligation review first.
Talk to our team